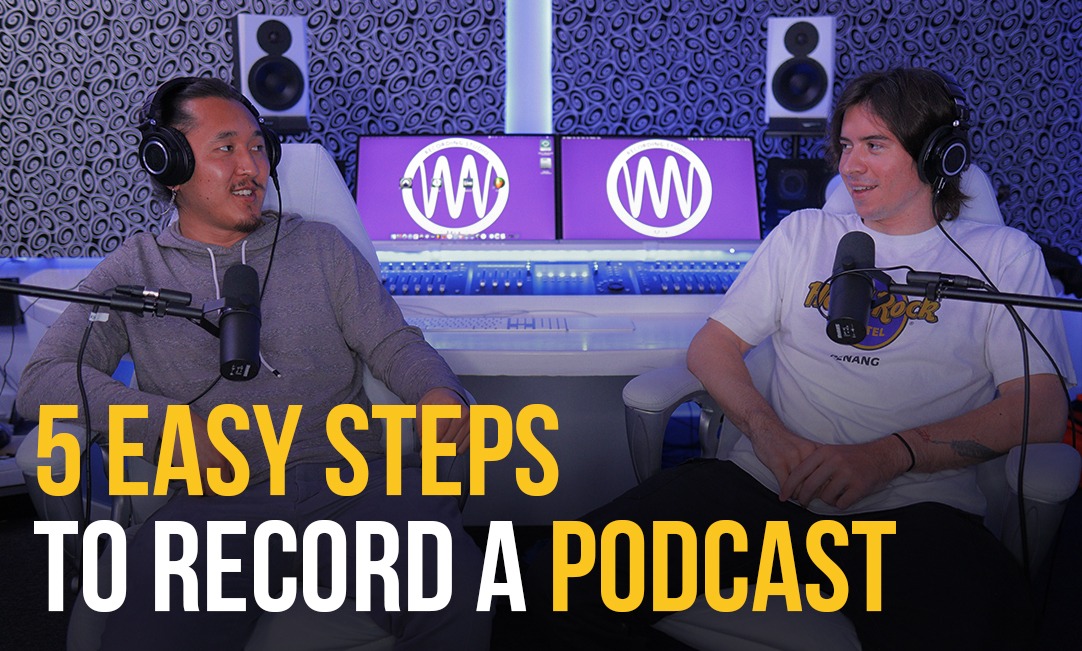
5 Easy Steps to Record a Podcast

It can be intimidating to record your first podcast episode, especially if you are unfamiliar with the technology. To record top-notch episodes, you don't need much skill, equipment, or money. This guide will walk you through the most important aspects of recording a podcast so you can get started right away!
Step 1:- Make a podcast plan.
Anything from a few headings and subheadings to a word-for-word script and anything in between can be used as an episode outline. Making a plan for your episode will assist you in the following ways:
-
Efficiently convey,
-
Resist the want to ramble, and
-
hold the audience's attention
This one step, which shouldn't take more than 15 minutes, can make a significant impact on the quality of your episode. If you're working with a co-host, you can send them the outline so you're both on the same page.
Step 2: Choose a recording location.
The audio quality of your podcast is heavily influenced by the recording location you choose. The greatest way to ensure high-quality sound is to avoid problems from the start. Voices reverberate off hard, flat objects (such as walls), making your recording seem echo-y and reverberant. Choose a location with a lot of soft surfaces that can absorb sound, such as:
-
a closet stuffed with clothes,
-
a carpeted 10x10 or 10x12 room, or
-
a recording studio at home
Try to sel ect a location with a lot of furniture and padding, carpet, and rugs, as well as low background noise.
Step 3:- Select a recording method.
Depending on your needs, you can choose fr om a variety of recording arrangements. Choose the one that best fits your needs.
1. Recording software for podcasts
Using podcast recording software to record your podcast audio is a simple process, especially if you're recording alone or in the same room as someone else. Simply connect your microphone, choose your input and output in your audio settings, and begin recording.
2. Set up a USB microphone
If you don't already have one, we recommend the Audio Technical ATR2100x USB microphone, which you can find on Amazon. Simply connect the mic to your computer's USB port. Then, in your podcast recording software's audio settings, sel ect the mic as your input and output.
3. Platform for remote recording
Remote recording platforms are comparable to video conferencing solutions, except they allow guests to record audio locally for studio-grade sound. Because guests record themselves directly to the software, local recordings capture high-quality audio. Even if you don't have a strong internet connection, these tools can record studio-quality audio and transfer it to the cloud, ensuring that you never lose your recordings.
4. Portable Device for recording on the go
It's easy to record on the go using a voice recorder like the Zoom Podtrak P4 or Zoom H6. Using XLR microphones, portable field recorders may record up to four distinct tracks onto an SD card.
Other advantages of portable records include:
-
The link to your smartphone to record phone calls.
-
They also serve as a USB interface.
-
They allow you to control the volume of each visitor.
You can transfer your audio recordings to podcast editing software for post-production after you've finished recording your interview.
Step 4: Improve your microphone technique
You want a recording that is free of plosives and clipping. To avoid complications in post-production, keep these mic technique suggestions in mind. Keep your distance fr om the microphone in mind. Keeping your mike near to your body produces a fuller, more resonant recording. Stay closer to the mic if you have a higher-pitched voice so the mic can pick up your lower tones. Move back a little if your voice is naturally lower so the mic can brighten it up. If you're a dynamic speaker, try to keep track of your voice levels during the recording so you can make adjustments. When speaking loudly, make sure to back off your mic to diffuse sound pressure.
If you speak softly, move closer to the microphone. Understand the sensitivity of your microphone. Because of its sensitivity to certain frequencies, each microphone produces a distinct sound. Mics with a higher sensitivity to high frequencies sound brighter, whereas mic's with a lower sensitivity sound darker. When you move your mic's position or axis, it changes how dark or light it sounds. If your microphone is too bright, consider moving it slightly off-axis to the left or right of you so you don't speak straight into it. To brighten up your recording, move the mic on-axis and speak directly into it.
Step 5:- Your audio file should be exported.
We recommend that you save your finished recording as an MP3. The MP3 format is the industry standard for podcasts, and it provides an excellent blend of high-quality audio and small file size. This is also the most prevalent format for podcasting providers like Apple Podcasts (formerly iTunes). You can now submit your files to your chosen editing software and start stitching together your episode!
CONCLUSION
A little preparation on the front end of your recording can save you time in post-production and improve the quality of your episodes significantly. These few tips could help you get a successful podcast. MIX Recording Studio is a professional podcast recording studio services provider and is a well-equipped studio with the latest tools and experienced and talented editors and sound engineers. If you want professional editing of your podcast episodes, our podcast recording studio in Los Angeles is a one-stop-destination. For more details, contact us.